HomeGuidesThe Cycle: Frontier
The Cycle: Frontier tips and tricks: A beginner’s guide to PvP, PvE, equipment, and moreA comprehensive beginner’s guide to The Cycle: Frontier
A comprehensive beginner’s guide to The Cycle: Frontier
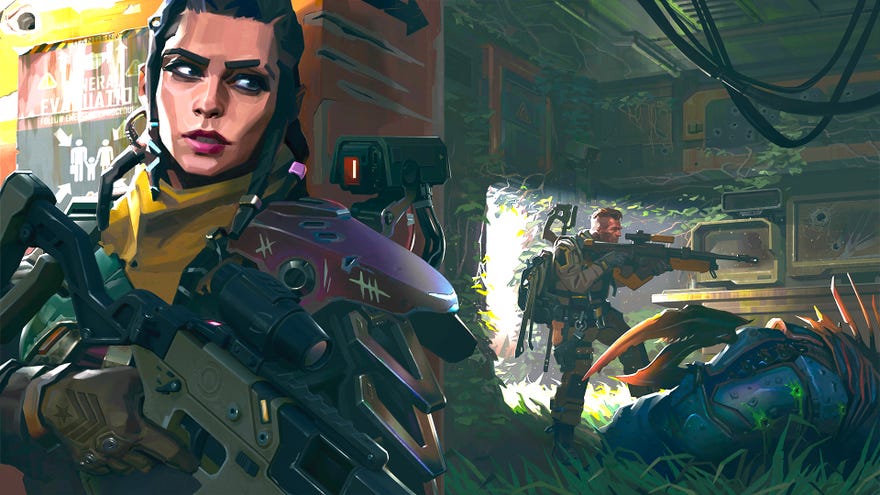
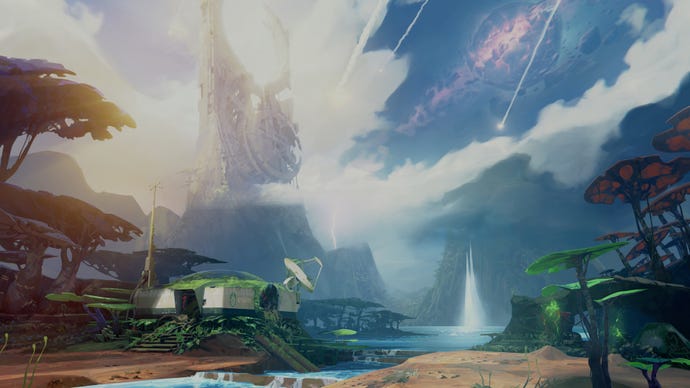
Do you want to get better at The Cycle: Frontier?It’s a slow but glorious journey on which you’ve chosen to embark, fellow prospector. The latest in a burgeoning line of multiplayer extraction shooters,The Cycle: Frontierdrops its players into the gorgeous world of Fortuna III, where they must fend against both the fauna and rival prospectors while attempting to gather precious materials and extract with their lives and gear intact.
I’ve played a great deal of The Cycle at this point, and I’ve got a pretty good grasp on how to quickly learn the game, improve your gear, and turn yourself into a powerful rival against any enemies you come across. So, to help you achieve the same, I’ve put together the below beginner’s guide to The Cycle: Frontier.
This comprehensive guide is split into 9 sections, each one filled with numerous in-depth tips, tricks, and tactics. We’ll cover everything from what equipment to take into your first drop to good stamina management and stealth; from hunting creatures to defeating other players; from armour and penetration stats to quickly earning money to buy better gear. Just about everything you need to become an expert in The Cycle is waiting for you below, so let’s get started.
On this page:
Should You Give The Cycle: Frontier A Try? Yes. It’s Very Good.Watch on YouTube
Should You Give The Cycle: Frontier A Try? Yes. It’s Very Good.

Preparing for your first drop
Understanding how The Cycle: Frontier works
If you’ve played Escape From Tarkov orHunt: Showdown, you’ll be familiar with the core loop of The Cycle: Frontier. Unlike traditional battle royales, in The Cycle you don’t drop into the game at the same time as every other player and fight until one player is left standing. Instead each server persists throughout the day, and players drop in, complete their objectives, and extract whenever they like.
There’s no overarching aim with each match in The Cycle. Instead, you set your own objectives. Do you want to gather metals and plastics to upgrade your gear once you’re back home? Do you want to hunt creatures to complete a certain faction’s quest? Do you want to hunt and kill other players, and take their high-value loot and gear?
In Part 2 we’ll talk more about entering the match with a gameplan in mind. The key takeaway is: in The Cycle you don’t stay in a match until either you die or “win”. Instead you drop in, accomplish whatever goals you want, and then extract at one of the two extraction points available to you. So if you want to stay alive,you should always try to extract as soon as you’ve completed your goals.
What equipment should you bring?
If you’re not sure what equipment to take into your first drop in The Cycle, here’s a good checklist to follow:

Insuring your gear
If you’re worried about losing a particular piece of gear that you’re bringing into a match, then you can insure that item against losing it. You have two options when it comes to insuring an item:
Standard Insurance has very little downside, and I’d recommend using it whenever you have a decent-tier piece of gear that it would pain you to lose. Gear Salvage Insurance is better because you have a chance of the item being returned to you; but it’s also more expensive (because Aurum and Gear Tokens are much harder to accrue than K-Marks), and the cost increases the more items you have insured in this way.
Which map should you play on?
From the very start of the game you’ll have access to two maps: Bright Sands, and Crescent Falls. Each time you drop, you can choose which of these two maps you want to land on. For now,I’d strongly recommend you land exclusively on Bright Sands.
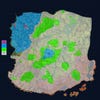
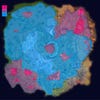
1of2CaptionAttribution
1of2
1of2
1of2
CaptionAttribution
CaptionAttribution
Caption
Attribution
Different areas of the maps are broken into tiers, which represent the PvE threat level and loot quality. Bright Sands is broken into Tiers 1-4, while Crescent Falls is Tier 3-5. Here’s what each of the tiers adds atop the previous tier in terms of PvE threats:
It’s also worth noting that the toughest PvE enemy (Crushers) are exclusive to Crescent Falls, and manually placed regardless of Tier. So in short: Crescent Falls is a really,reallydangerous place for new players. Stick to Bright Sands for now.
Always enter the match with a gameplan
There are no fixed objectives in The Cycle. However, there are faction quests and jobs that you can accept and complete (more on these later). As time goes on you may end up having more and more faction quests active at once - far too many to attempt completing in a single match. So you’ll need to make a plan of action, taking into account where on the map you’re spawning and where your extraction points are located.
For example: say I have four active missions:
I get into game, having spawned on the far north-east of the map next to Woodcutter Camp. My two possible extraction points are: at Rock Pools, and north of Dig Site.
Here’s an image of those locations marked on the map, to make things easier:
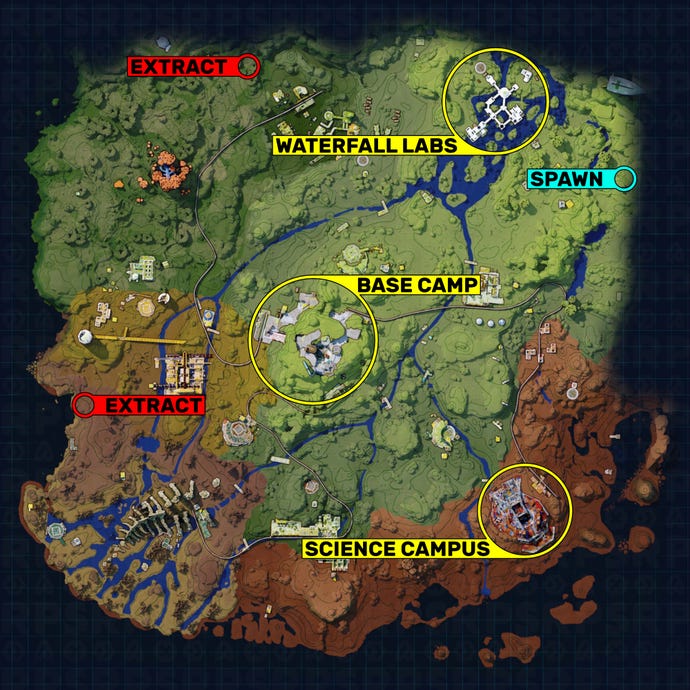
Ideally, within a few seconds of landing you should have figured out a basic plan for what you want to accomplish in this match. So given the above, what’s your gameplan? Here’s mine:
This is why heading into a match with a gameplan is so useful: it focuses you, makes you more efficient, and reduces the risk of death.
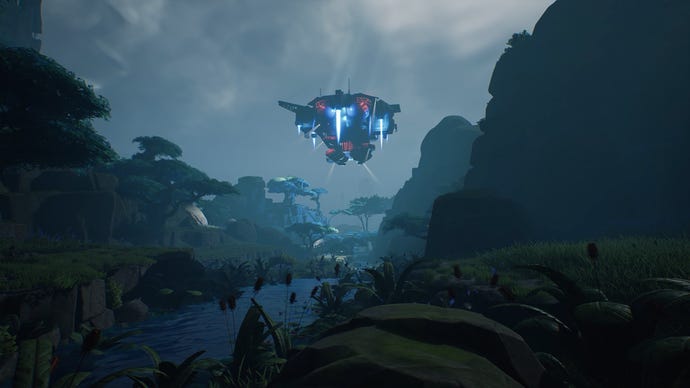
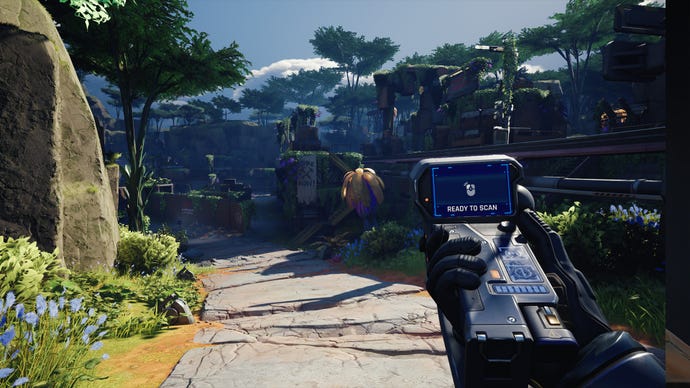
Movement and exploring the map
This next section covers a few important points to bear in mind when it comes to exploring and moving about either of the two maps in The Cycle: Frontier. As you get more experienced, these things will become second-nature to you.
Image credit:Rock Paper Shotgun/Yager
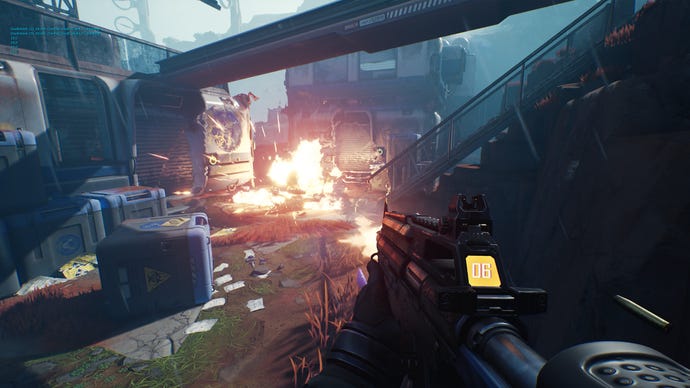
Weapon penetration and armour explained
Weapon stats in The Cycle can be slightly misleading for new players. Say you take a look at a Manticore Assault Rifle and see that it deals 13 damage per shot - but does it really? Then why would you ever use it over the far cheaper AR-55, which also deals 13 damage per shot?
The answer ispenetration. If Player A fires at Player B, then the penetration value of Player A’s gun is compared to the armour value of Player B’s shield to determine the damage dealt. If the penetration is greater, the shot deals bonus damage. If the armour is greater, the shot deals reduced damage.
There are other things which determine how much damage you deal with a shot, such as the gun’s effective range and whether you land a headshot or not. But the most important aspect to remember is the penetration system. It may sound complex, but it becomes very straightforward once you realise that you just have to take a look at the colour of the gear in question:
So even if a white weapon and a green weapon appear to have similar damage stats, realistically the green weapon will always deal more damage because it has higher penetration. Ultimately, the rarer the weapon, the stronger it is - even if the damage stats don’t seem to reflect this. If you want to learn more, there’s a fantasticdamage calculatoron one of the Cycle: Frontier wikis.
Image credit:Yager
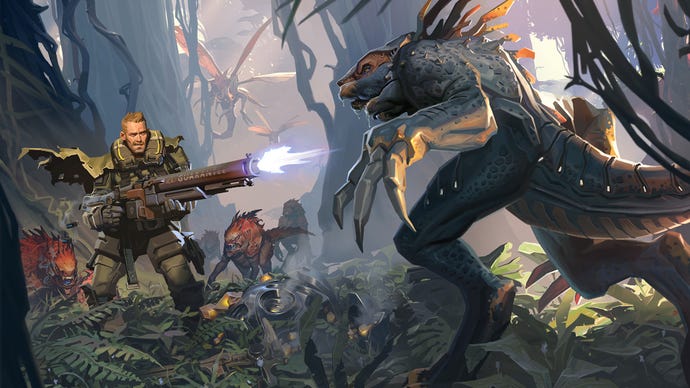
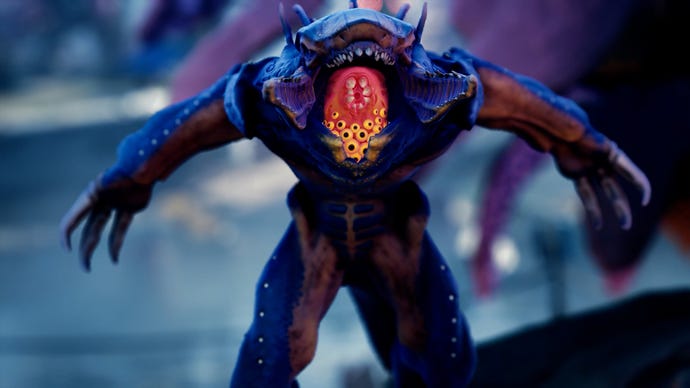
PvE tips: How to survive against creatures
PvE in The Cycle is no joke. If you don’t respect the creatures, you will likely end up dying to them. Here are a few things to bear in mind when it comes to hunting and escaping the dangerous fauna of Fortuna III.
PvP tips: How to survive against enemy prospectors
Right, here we are: probably the most important part of the entire beginner’s guide. PvP is an enormous part of The Cycle, and for new players it can be very intimidating and unforgiving. Below is a compendium of the best advice I can give you from my time spent killing my fellow prospectors.
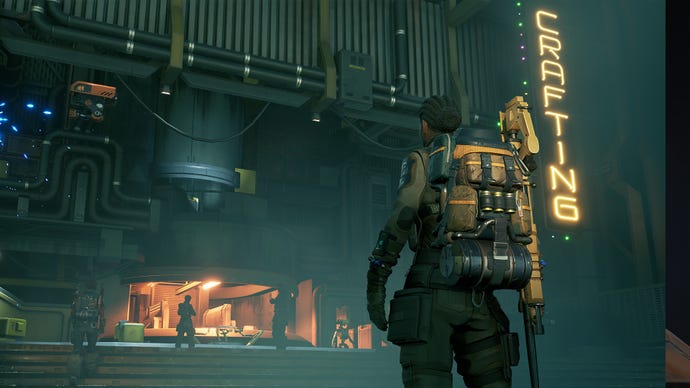
How to get better gear
A large part of the overarching progression in The Cycle: Frontier is the gradual accrual of better weapons, armour, and gear. Here are a few tips to bear in mind to help expedite this process, and get you decked out in the strongest equipment as soon as possible.
How to get more money quickly
There are three types of currency in The Cycle: Frontier. Here’s a quick run-down on how they all work:
Miscellaneous tips and tricks
We’re nearly at the end of our beginner’s guide to The Cycle: Frontier. To wrap up, I’m going to list a number of small useful tips and tricks that will improve your game in various ways.
