HomeGuidesStarfield
Starfield Unearthed walkthroughHere’s how to gain a new artifact, fight the Starborn, and make a big decision
Here’s how to gain a new artifact, fight the Starborn, and make a big decision
Image credit:Rock Paper Shotgun/Bethesda Game Studios
Image credit:Rock Paper Shotgun/Bethesda Game Studios

Looking for a walkthrough of the Unearthed mission in Starfield?Embarking on theStarfieldUnearthed mission, you’ll explore Earth’s moon, Luna, enter NASA, uncover experiments, gather an artifact, all before making a pivotal decision.
There’s a lot to the Unearthed mission that will test your combat, investigative skills, and problem-solving. It’d be advised then to make sure you’re clued up on thebest weaponsas well as ensuring you’ve worked hard on your XP andleveling up.
To see this content please enable targeting cookies.Manage cookie settingsWas Starfield worth the wait? Liam and Alice B discuss this question - and more - in the video above.Watch on YouTube
To see this content please enable targeting cookies.Manage cookie settings
To see this content please enable targeting cookies.Manage cookie settings
Starfield Unearthed walkthrough
To complete theUnearthedmission, you’ll want to complete the following objectives:
We’ll delve deeper into each of the objectives in more detail below. Each one will pave the way to a crucial moment inStarfield’s main mission. So, keep reading!
1. Go to the Nova Galactic Research Station
Image credit:Rock Paper Shotgun/Bethesda Game Studios
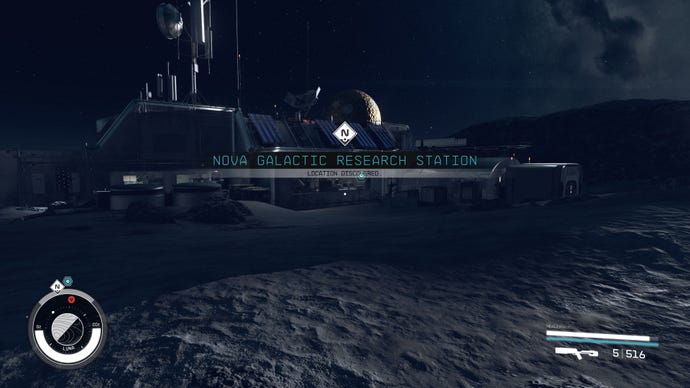
Set course via the data menu to fast travel to the Nova Galactic Research Station. The base is found on Luna, Earth’s Moon, in the Sol System.
2. Investigate the research station
Image credit:Rock Paper Shotgun/Bethesda Game Studios
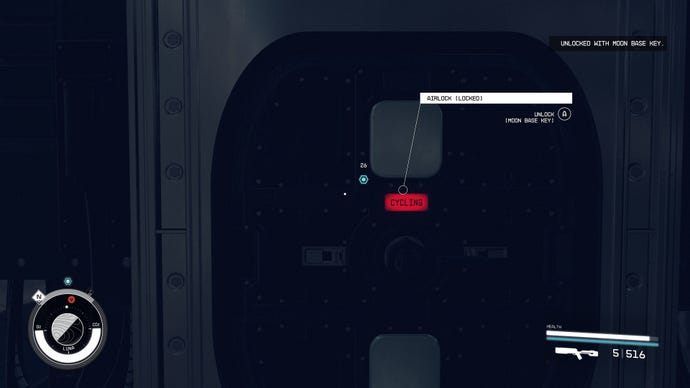
As you approach the Nova Galactic Research Station, there’s a couple of airlock entrances that you can use the Moon Base Key on to gain entry.
Image credit:Rock Paper Shotgun/Bethesda Game Studios

Once inside, head to the Nova Galactic Research terminal computer and read both files on the desktop;Voltaire and Project Prism Launch.
3. Play the recording on the roof
Image credit:Rock Paper Shotgun/Bethesda Game Studios

After reading the files, head outside and follow the blue locator onto the roof of the Research Station to listen to a recording betweenLan HsuandVictor Aiza.You will then be prompted to travel to NASA.
4. Go to NASA
Image credit:Rock Paper Shotgun/Bethesda Game Studios
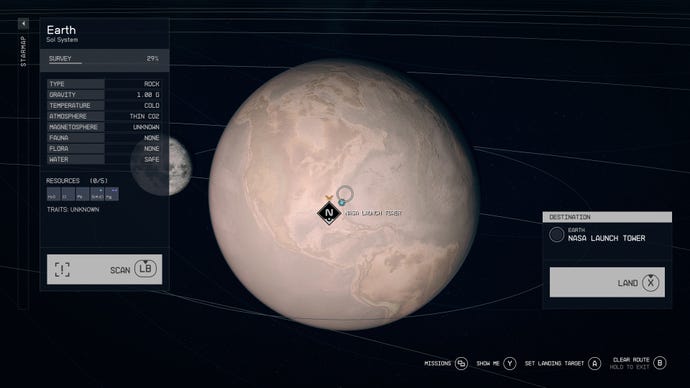
Fast travel to theNASA Launch Towerlocated on Earth in the Sol System.
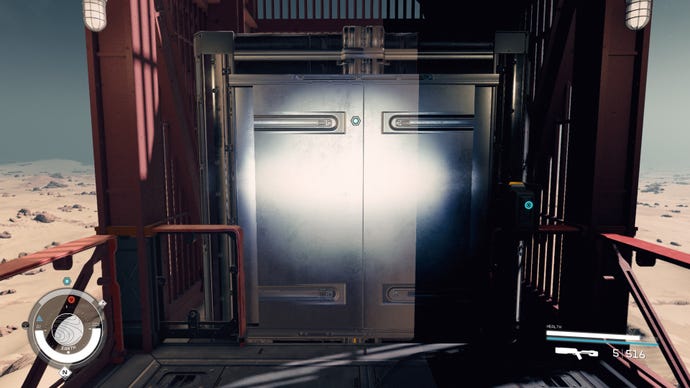
5. Find a way to enter NASA
Image credit:Rock Paper Shotgun/Bethesda Game Studios
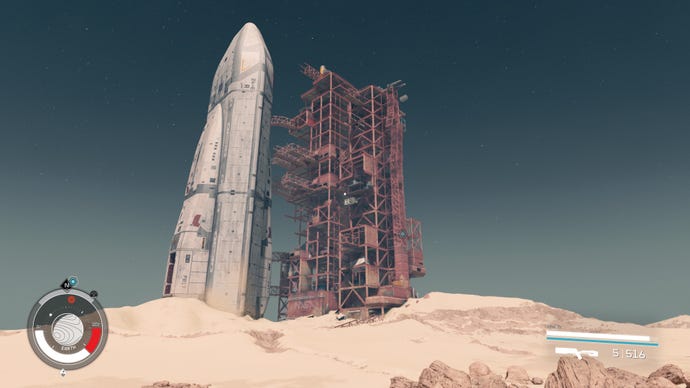
As you approach the NASA Launch Tower, the blue locator will appear and you’ll need to climb up the broken walkway to reach it.
Image credit:Rock Paper Shotgun/Bethesda Game Studios

This can be achieved a number of ways, but utilizing the stairs, the crates, your Boost Pack, and balancing along a beam to gain access to another broken stairwell will eventually allow you to reach the elevator shaft.
Image credit:Rock Paper Shotgun/Bethesda Game Studios
As you attempt to activate the elevator button, you’ll be prompted to find power. For this, follow theyellow cableon the floor to a locked room. You will gain entry with the NASA Access Code you received earlier.
Image credit:Rock Paper Shotgun/Bethesda Game Studios
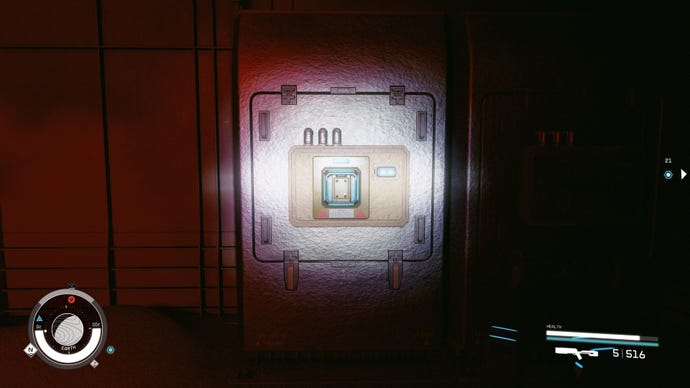
Insidethe room there areEmergency Power Cells, retrieve them and place one in the generator. Once activated, return to the elevator. You can now press the button to take the elevator underground to the NASA Launch Facility.
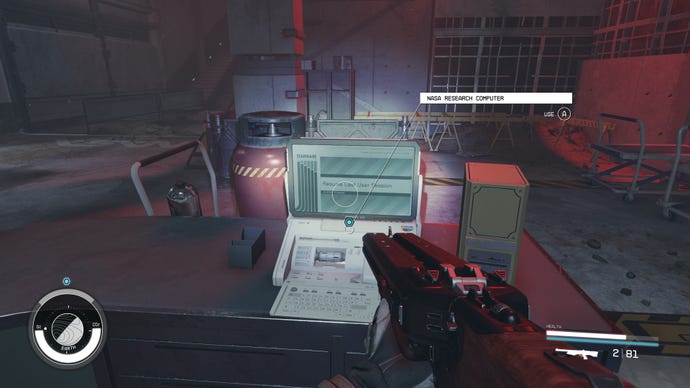
6. Find information about NASA
Image credit:Rock Paper Shotgun/Bethesda Game Studios

Head over to theNASA Research Computerand read the logs, specifically Delivery from Mars.
7. Find information about the Martian sample
Image credit:Rock Paper Shotgun/Bethesda Game Studios

Follow the blue locator into a deep cave that will eventually lead out into a NASA exhibition. You’ll find an audio recording titled,Judith - Personal Recordingon the counter.
8. Find information about the Prototype Grav Drive
Follow the blue locator deeper into the cave until you reach the Lab. Open the door and from here, you’ll need to climb the rock slope to the left, go through the door at the top, and follow the hallway to a locked door marked Secure Access.
Follow the blue locator to a large room filled with robots and turrets determined to kill you. You can fight them all, or you can run and dodge them if you follow the next steps quickly.
You may notice a pattern here, but there’s another large locked gate that requires power. Run round to the right, following the yellow cable on the floor, until you reach a power switch. Turn it on and follow the cable back to the gate that you can now activate to open and head through.
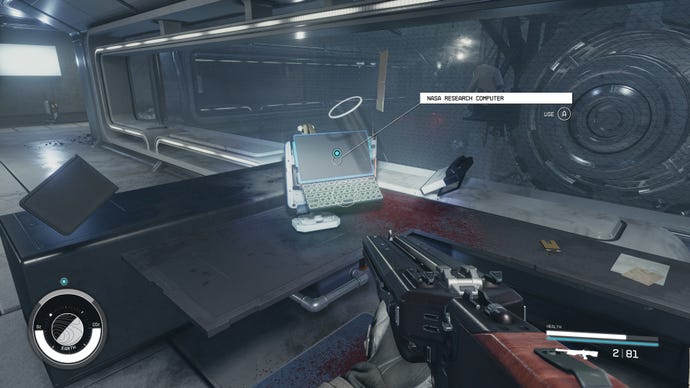
Image credit:Rock Paper Shotgun/Bethesda Game Studios
Head down until you reach anotherNASA Research Computer. Read the logs until you’re prompted with your next objective.
9. Find information about the Grav Drive side effects
Follow the blue locator until you reach a broken stairwell area with zero-gravity. Float down to the doorway titledB2and float through the hallway until you reach an office with a body lying on the floor.
Image credit:Rock Paper Shotgun/Bethesda Game Studios
This body is of Victor Aiza who you have heard on the previous recordings. You can loot his body, access the computer, and pick up theNASA Maintenance Keyfrom the desk.
The computer will reveal more information about the Grav Drive and prompt the next objective.
10. Release the artifact
Image credit:Rock Paper Shotgun/Bethesda Game Studios
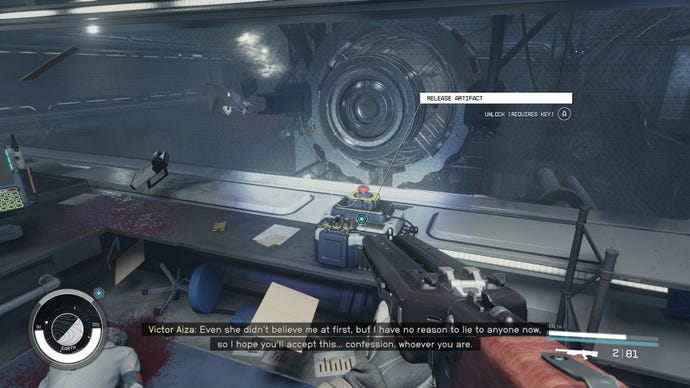
There’s a big button on the right of the desk. Press it to release the artifact and return the whole area back to normal gravity.
11. Take the artifact
Image credit:Rock Paper Shotgun/Bethesda Game Studios
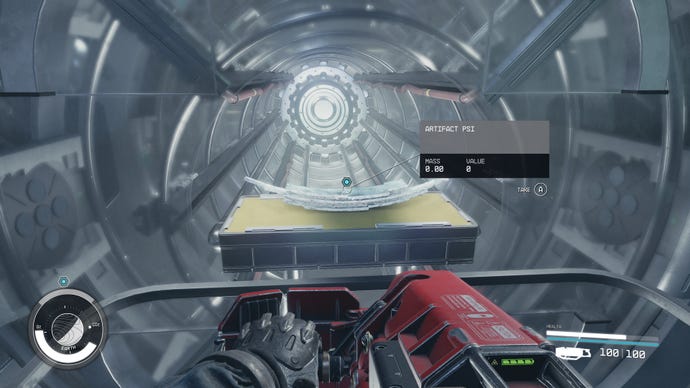
Follow the blue locator through a door that will now open with yourNASA Maintenance Key. Open the door at the bottom and turn right to access the room with the artifact in it. Ascend the stairs up to the chamber it’s being held in and interact to grabartifact Psi.
12. Leave NASA
Even though it took a lot of hard work to reach this point, it’s not going to be as easy as just fast traveling out of NASA or walking back the way you came.
Image credit:Rock Paper Shotgun/Bethesda Game Studios

As soon as you grab the artifact,the Emissarywill inform you that theStarbornhave found you and are hunting you down.
You can choose to fight the lvl 30 Starborn or just run away. But, fair warning, when you reach a certain point you will need an Emergency Power Cell spare to use on another locked door. Follow the yellow cables along the floor to place the power cell and go back to the door to exit.
Follow the blue locator out of the NASA Launch Facility until you return to where you started on the scaffolding on the NASA Launch Tower.
13. Talk to the Emissary
Image credit:Rock Paper Shotgun/Bethesda Game Studios

The Emissary and the Hunterwill be waiting outside to speak to you. They’ll both discuss what they think should be done with the artifacts and then you’ll be given a choice.
You can:
Ultimately, it’s up to you what you decide to do. The choice comes down to who will fight alongside you or against you in one of Starfield’s final missions, Revelation. If you side with the Emissary, they’ll fight alongside you against the Hunter. Side with the Hunter, fight the Emissary together. But, if you choose to side with neither, they’ll both fight against you, which may prove rather difficult depending on your level. For more details, check out our dedicated guide on whether to chooseEmissary or Hunter in Starfield.
Making your choice marks the end of the Unearthed mission. You’ll also need to make sure you’ve completedFinal Glimpsesto wrap it up completely.
That’s the end of the Unearthed mission, which has provided some major hints of what’s to come. Knowing now that there’s a fight ahead, it’s a great time to make sure you’releveled up, equipped with thebest weaponsand have spent all yourskill pointswisely.
