HomeGuidesStarfield
Starfield All That Money Can Buy walkthrough: Negotiation timeHere’s how to successfully negotiate another artifact for your collection in All That Money Can Buy
Here’s how to successfully negotiate another artifact for your collection in All That Money Can Buy
Image credit:Rock Paper Shotgun/Bethesda Game Studios
Image credit:Rock Paper Shotgun/Bethesda Game Studios
How do you negotiate another artifact and meet your first Starborn during the All That Money Can Buy main mission?The hunt for artifacts continues inStarfieldand Walter Stroud has more work for you. This time round you must deal with an unknown seller and head to the planet, Neon for the first time.
It’s also the first time you’ll travel to The Eye and meet with Vladimir Sall to further your search for the artifacts. Before we get started, it’s definitely worth a read of our guides toStatus Effects and how to cure themandthe best Starfield weapons.
Read on for our full walkthrough ofStarfield’s mission, All That Money Can Buy!
To see this content please enable targeting cookies.Manage cookie settingsWas Starfield worth the wait? Liam and Alice B discuss this question - and more - in the video above.Watch on YouTube
To see this content please enable targeting cookies.Manage cookie settings
To see this content please enable targeting cookies.Manage cookie settings
All That Money Can Buy walkthrough
To complete theAll That Money Can Buymission, you’ll want to complete the following objectives:
There may be a lot of steps, but we delve into each one below to give you everything you need to know. So, keep reading!
1. Talk to Walter Stroud
As mentioned,Walter Stroudis ready to talk to you after the Into the Unknown mission. You can find him located atThe Lodgein New Atlantis, Jemison.
He will inform you that he wants to buy an artifact from a seller in Neon, which makes him think that it has been stolen.
2. Travel to Neon
Image credit:Rock Paper Shotgun/Bethesda Game Studios
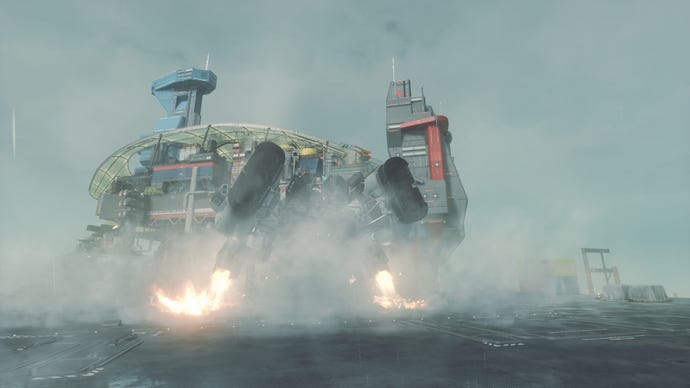
Fast travel toNeonin the Volii system. You can set the course in your data menu.
3. Talk to Walter again
Image credit:Rock Paper Shotgun/Bethesda Game Studios
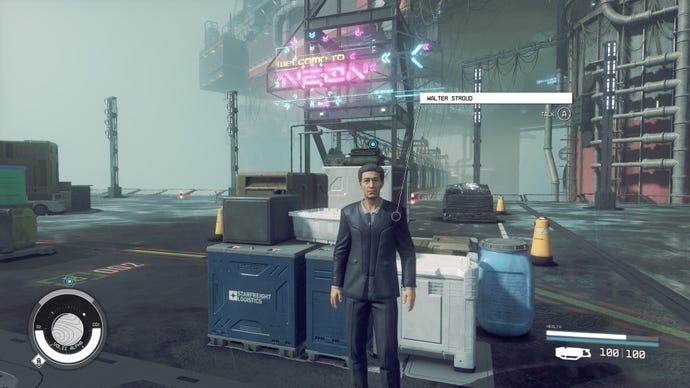
Walter will meet you in Neon to discuss the next steps of your mission and tell you some interesting intel about the planet. He will ask you to meet him atStroud-Eklund HQto go through protocols before meeting with the artifact seller.
4. Check in at Stroud-Eklund HQ
Image credit:Rock Paper Shotgun/Bethesda Game Studios

Enter the city via the long bridge in front of you from the spaceport. You will come to an elevator that will take you to theUpper Platform of Neon. Here, you will unlock of a lot of new side missions, including Back to the Grind offering you work with Ryujin Industries.
5. Talk to Issa Eklund
Image credit:Rock Paper Shotgun/Bethesda Game Studios
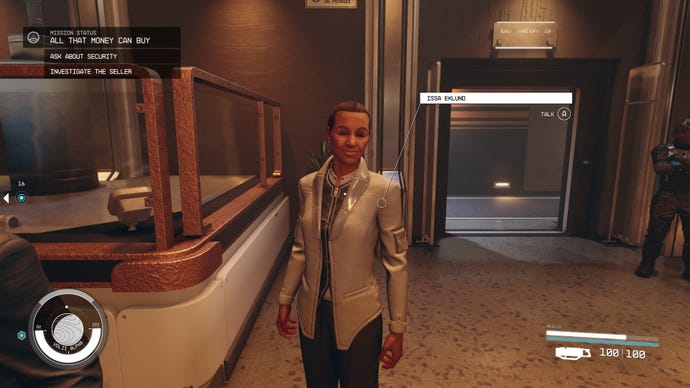
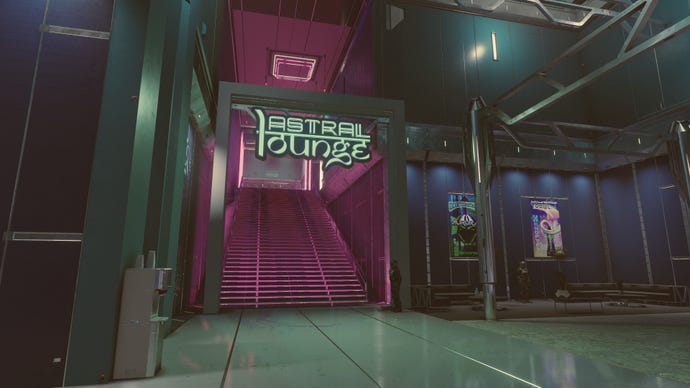
Upon arrival at Stroud-Eklund HQ, you will meetIssa Eklund. Issa is Walter Stroud’s wife and business partner (hence Stroud-Eklund). She will task you with looking into security and finding out more about the seller at theAstral Loungebefore the sale takes place.
6. Ask about security
Image credit:Rock Paper Shotgun/Bethesda Game Studios
Ask him about security options and he’ll recommend the VIP package. For this, he’ll ask for 4,000 credits. Use yourPersuasion skillto get him to lower it to 1,000. Walter will have given you these credits to spend already.
7. Check the door controls
Head to the VIP elevator in the corner of the Astral Lounge and go to the VIP balcony. Here, you will go toVIP booth 3and interact with the computer. You will need to unlock it at novice level to select the Remote Door Control message informing you that you can lock the door, once.
8. Investigate the seller
Image credit:Rock Paper Shotgun/Bethesda Game Studios
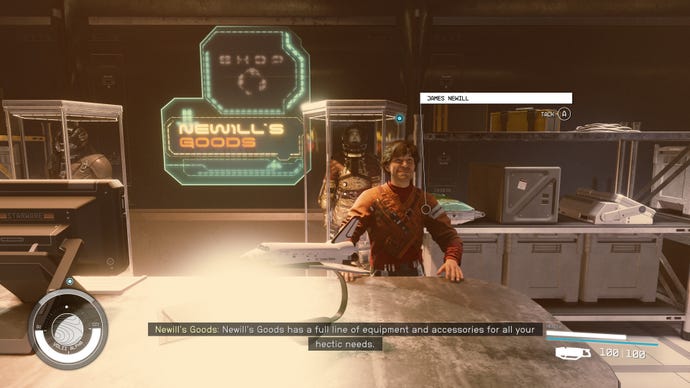
Follow the blue locator toNewill’s Goodswhere you will speak with the owner, James Newill, about the seller. He’s got information to tell you, but he’ll ask for 2500 credits. You can either pay it or use your Persuasion skill again to get the information for free. He will tell you where the seller is staying.
9. Search the seller’s sleepcrate
Head through the entrance toEbbside, a door located not far away from Newill’s Goods next to a bright yellow neon sign for the Trade Authority. Follow the blue locator to the seller’s sleepcrate.
Insidethe sleepcrate, you can pick up a Resignation Letter on the shelf, a Galbank statement next to the toilet, and personal correspondence on his computer. It doesn’t matter if you don’t interact with all three as each will tell you that he is in desperate need of money, which is intel to take to Walter.
10. Talk to Walter again
Head back toStroud-Eklund HQand tell Walter what you’ve found out. He will then ask you to accompany him to the meeting at the Astral Lounge.
11. Locate the seller
Image credit:Rock Paper Shotgun/Bethesda Game Studios

Walter will inform you at the Astral Lounge that he doesn’t know what the seller looks like. He’ll tell you he’ll be carrying a security briefcase and to use the code’Ramsay and Travers’when talking to the seller.
At this point, lots of people in the Astral Lounge will be carrying briefcases, so head to the bar and the seller,Musgrove, will be propped against the wall.
12. Talk to Musgrove
Talk to Musgrove briefly and mention Ramsay and Travers when prompted. Return to Walter Stroud and let him know that you have found the seller and it will be time to meet.
13. Negotiate for the artifact
Image credit:Rock Paper Shotgun/Bethesda Game Studios
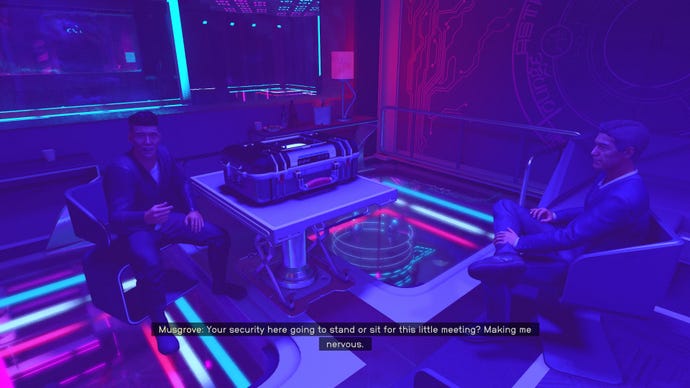
Head upstairs to the VIP booth you visited earlier. Here, you will negotiate for the artifact. Musgrove will ask you to sit, it’s up to you if you decide to, but it appeared that he was calmer when you sat.
He will ask for double the previously agreed amount to which you can use Persuasion to get him to agree to the previous amount, lock the doors and threaten him, or grab the artifact and discuss it. Any which way, you’ll get the artifact Nu.
14. Head to the entrance
Image credit:Rock Paper Shotgun/Bethesda Game Studios
15. Talk to Issa Eklund
Image credit:Rock Paper Shotgun/Bethesda Game Studios
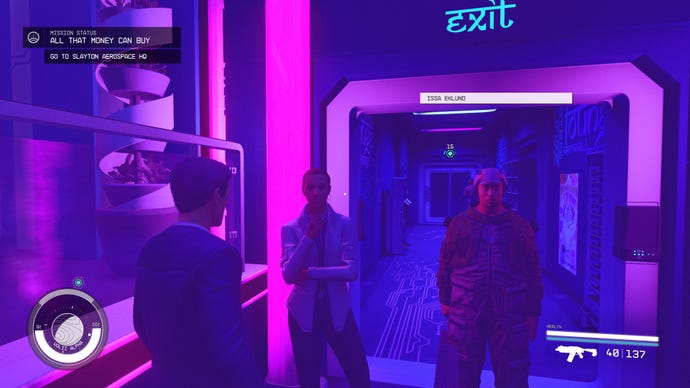
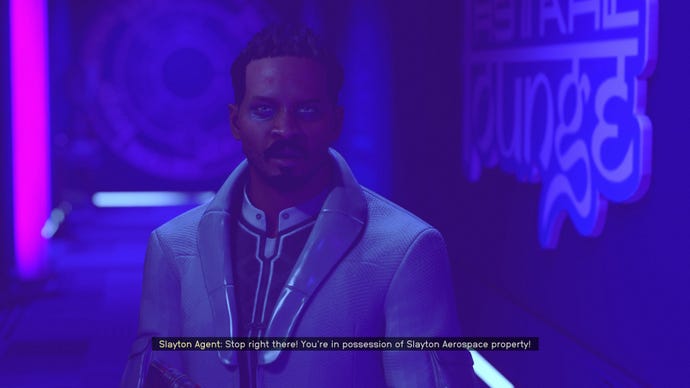
16. Go to Slayton Aerospace
Head toSlayton Aerospace HQvia the same elevator used for Stroud-Eklund HQ. At reception, try and use your Persuasion skill to convince the receptionist you have a meeting and she’ll grant you access to the elevator up.
Image credit:Rock Paper Shotgun/Bethesda Game Studios

In the lift,Nicolaus Slaytonwill speak to you over the intercom to say that he knows you’re there. Issa will then speak over the system to say she’s paid off a security guard and you can instead navigate the vent system to gain access to Nicolaus Slayton. Issa will provide you with instructions.
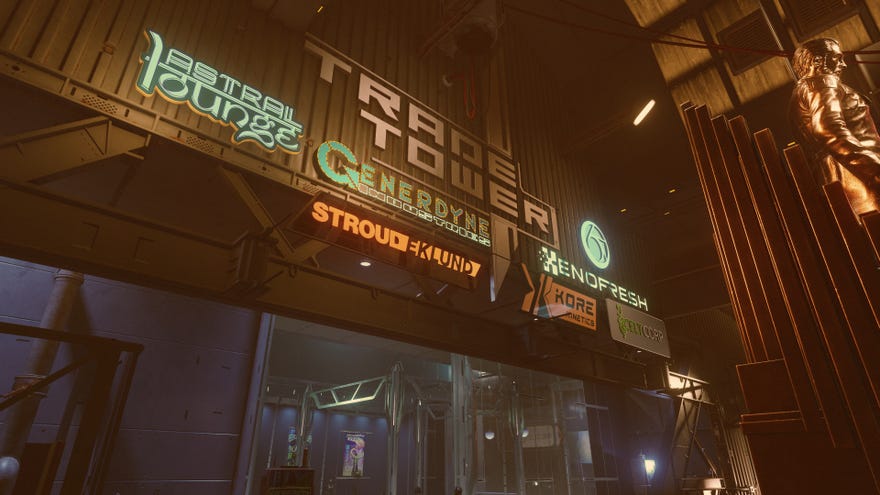
You will find yourself outside and needing to climb theTrade Towerto access Slayton Aerospace HQ from the roof. Climb up the tower, using your Cutter scanner for guidance, and if you’re sneaky enough you won’t run into too much trouble. Regardless, you’ll need to fight with some enemies, so come armed with the best weapons possible, if you can.
17. Confront Nicolaus Slayton
Image credit:Rock Paper Shotgun/Bethesda Game Studios

After following Issa’s instructions, you’ll find yourself in Slayton Aerospace HQ and in front ofNicolaus Slaytonhimself. Here, you can attack if you want to but it can get pretty crazy. Or, you can talk to him and find out that Musgrove has been captured and you will have to decide his fate.
18. Talk to Musgrove
Image credit:Rock Paper Shotgun/Bethesda Game Studios

You will findMusgrovewounded on the floor of Slayton Aerospace HQ. You can let him go, send him to jail, or kill him and whatever you choose Nicolaus is fine with it and will let you go. But, your reputation will be affected depending on who your companion is and Walter would rather you were lenient.
19. Return to The Lodge
Toreturn to The Lodge, you will need to first go back to your ship and take off from Neon’s spaceport. Walter will talk with you and give you a reward for a successful mission.
Before you fly back though, a transmission from ‘Helix’ will tell you they are a Starborn and that you must hand over the artifact. You can attack, hand it over, toGrav Jumpaway. Use theGrav Jumpand get back to The Lodge to continue your journey.
That concludes the Starfield All That Money Can Buy main mission. With a hint of what’s to come, it’s a good point in time to step back and reflect on yourmissions and quests list, as well as thebest traits, andbest builds.
