HomeGuidesImmortals Fenyx Rising
Immortals Fenyx Rising Ajax’s Fort walkthrough: How to activate the fortress mechanismsHow to solve both fortress mechanism puzzles in Ajax’s Fort
How to solve both fortress mechanism puzzles in Ajax’s Fort

Looking for a walkthrough to Ajax’s Fort in Immortals Fenyx Rising?Immortals Fenyx Risingis full of quest-giving gods - one of whom happens to be Ares, the God of War. During the Ares questline, you’ll inevitably find yourself inside Ajax’s Fort.
Within, you can find Ares' treasury, but it is locked behind two fortress mechanisms. If you want to access Ares’s treasury, you’ll need to know how to complete both puzzles in the fort. In this Immortals Fenyx Rising Ajax’s Fort walkthrough, we’ll explain how to complete both puzzle mechanisms so that you can access Ares' treasury.
Note: Spoilers follow, obviously. You’ve been warned.
Immortals Fenyx Rising Ajax’s Fort walkthrough video
Watch on YouTube

Above is a full video walkthrough of both the puzzles in Ajax’s Fort. So if video is your medium of choice, then take a look! If, on the other hand, you prefer to read through the steps at your own pace, then a full written walkthrough is just below.
First mechanism walkthrough
You need two puzzle cubes to activate this weighted pressure plate, so use the first cube to break the barrier at the end to reveal a second cube.

Now return to the main entrance, and press the circular buttons in order. Just follow the lasers and you’ll get the right order. Hitting the final button will open a passage next to you at the top. Head up the stairs and through the broken wall, and press the button to activate the first fortress mechanism.
Second mechanism walkthrough
Throw the cube up onto the platform to your left, then follow it up there.

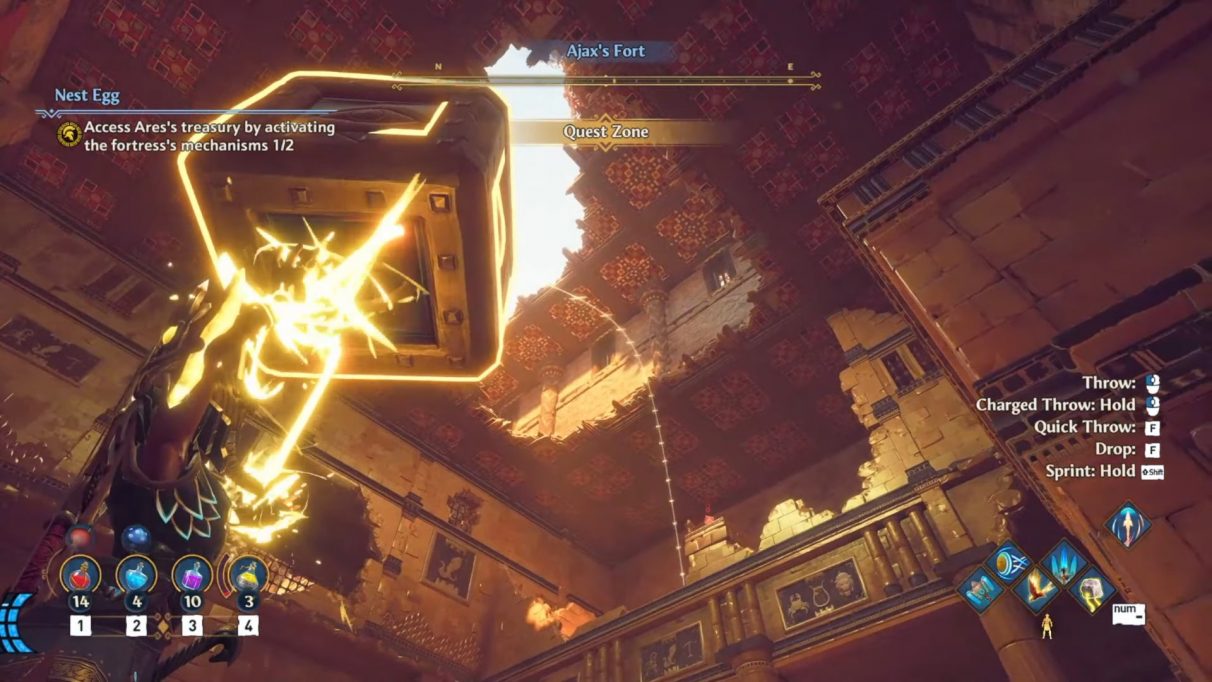
Entering the building with the second mechanism, you should be greeted with a cube on a pressure plate in front of you. Take the cube, and throw it through the lasers onto the ledge high up to your left. Then climb up the side to follow it. Once up, throw the cube east through the next laser field, and climb the wall to get above the lasers and follow it. Now stand on the circular pressure plate to open the door in front of you, and throw the cube through it.
Follow the walkway around and you’ll see that you can jump into the area where you just threw the cube. Defeat the soldier enemies there, and place the cube on one of the two pressure plates (it doesn’t matter which one). Now head to the right of the stairs, and jump across to the other platform.
The second button again requires two cubes. You’ll have to really hurl this cube in order to get it up to the top.

That’s one of the two buttons pressed. Drop back down into the flooded ground floor, and head south through the giant broken wall. At the end there’s a cube and a pressure plate in a room barred from you. Use Herakles’s Strength to pull the cube onto the pressure plate, then do the same with the neighbouring room and its cube/pressure plate pair.
This will lower the barrier so you can enter the first room. Press the button, then take the cube off the pressure plate. Then press the button again. This will allow you to escape the room with the cube. Throw the cube up to the very top platform above you on the east side. Climb up there, and defeat the guards.
You’ll see at the end of this area a room with a barrier preventing you from entering. Beyond the barrier is a large cube, and above the barrier is a broken wall. Throw the small cube through the broken wall and follow it. Place the small cube on the pressure plate to deactivate the barrier, and then push the large cube through and onto the weighted pressure plate (the one with the anvil icon).
Now retrieve the small cube, throw it back through the broken wall, and follow it. Place the small cube on the other pressure plate, and press the button in the centre to open the door to the north. Follow the stairs up to find the button which activates the second fortress mechanism.
That wraps up our Immortals Fenyx Rising Ajax’s Fort walkthrough, but there’s plenty more to see while fighting Typhon’s minions. If you’re struggling in combat, take a look at our lists of thebest weapons,best skills, andbest gear in Immortals Fenyx Rising. If you want to get around quicker, check out ourImmortals Fenyx Rising mapand our list of thebest mounts in Immortals Fenyx Rising.