HomeHardwareGuides
How to update your BIOSFlash your BIOS in a flash
Flash your BIOS in a flash
Knowing how to update your BIOS is perhaps one of PC gaming’s lesser-used skills. Even so, it can be useful, especially forbrand-new motherboards on brand-new chipsetsthat might not already have all of the kinks straightened out. Updating (also known as “flashing”) your BIOS can also fix certain technical issues, or even unlock new features that weren’t enabled before.
Sable Nails The Whole Video Games Are Art Thing | My Fav Thing In… (Sable Review)Watch on YouTube
Sable Nails The Whole Video Games Are Art Thing | My Fav Thing In… (Sable Review)

A word of warning, though: just because updating your BIOS is often worthwhile, that doesn’t mean you should endeavour to scarf down every new update as soon as it becomes available. The dangers of installing a buggy update extend torendering your PC unusable, so it’s good practice to wait a while and make sure it’s reliable. Having a previous (i.e. your current) BIOS version saved on an external drive might also be handy, so you have something to roll back to if there’s a problem with the latest release.
Note that updating your BIOS will also reset its settings to the defaults, so any CPU or memory overclocks you’ve performed will be undone, as will any changes to boot priority order or other system settings.
How to update your BIOS
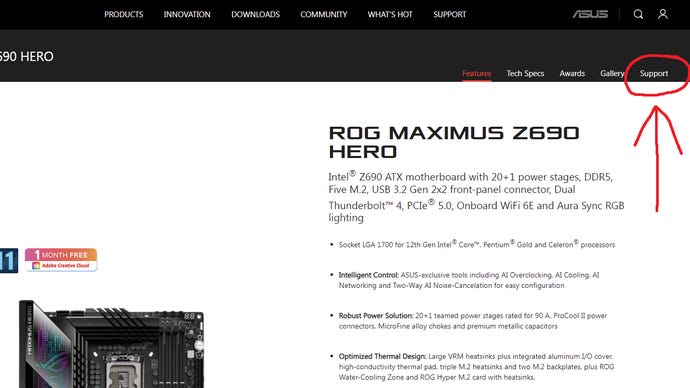
Step 1:Look up your motherboard – the exact model! – on the manufacturer’s website. There’s usually a Support tab on the product page, so check there for the latest BIOS version.
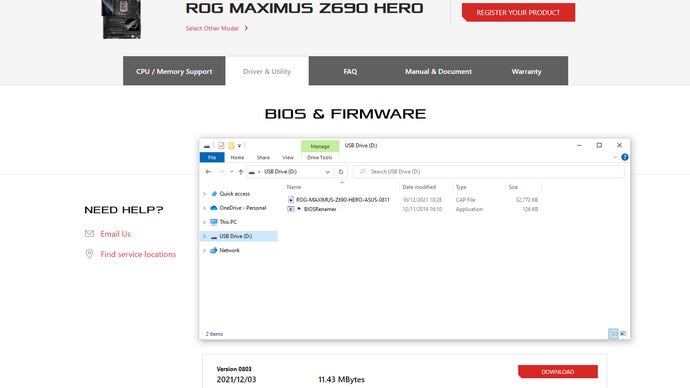
Step 2:Download the latest version as a .ZIP file and extract it to a USB drive. Make sure the drive uses the FAT32 format; if it’s NTFS, you’ll need to reformat it first into FAT32.
You can just extract the files locally (i.e. onto your PC storage), but using a USB drive is much easier. When the time comes to select the update in the BIOS (see step 5), you can just select the USB drive instead of having to navigate through a much more cluttered local drive.
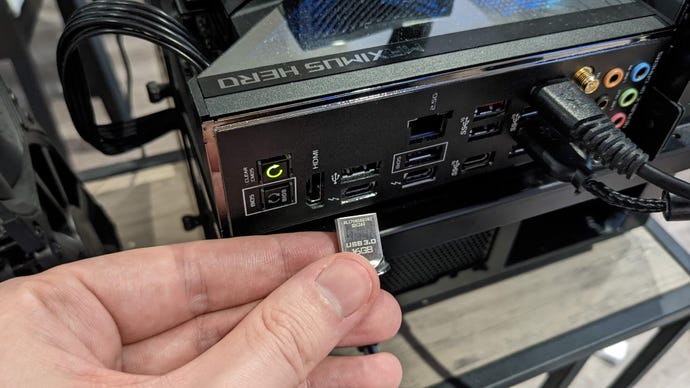
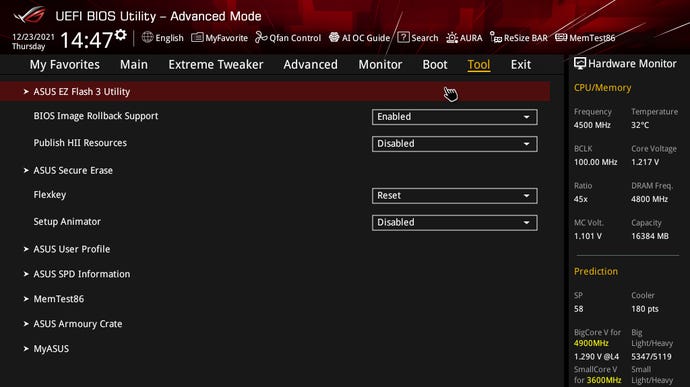
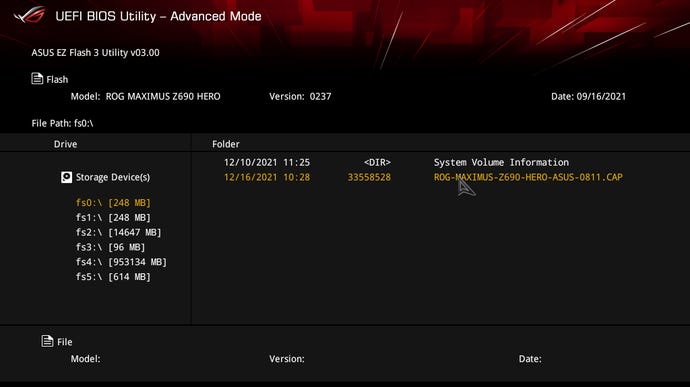
Step 5:On the list of storage devices, click on your USB drive (or whichever drive you have the extracted files saved to), then click on the .CAP file within it. Confirm that you want to read the file and begin the update, then wait.
Step 6:Eventually you’ll be prompted to run a setup process, as you would if you’dinstalled a new CPUorreplaced the motherboardentirely. Press F1 to continue, and you should enter your newly-updated BIOS. From here, you can either exit without changes to use your system’s recommended defaults, or you can manually re-apply any overclocks or BIOS settings changes you’d made on the previously version.
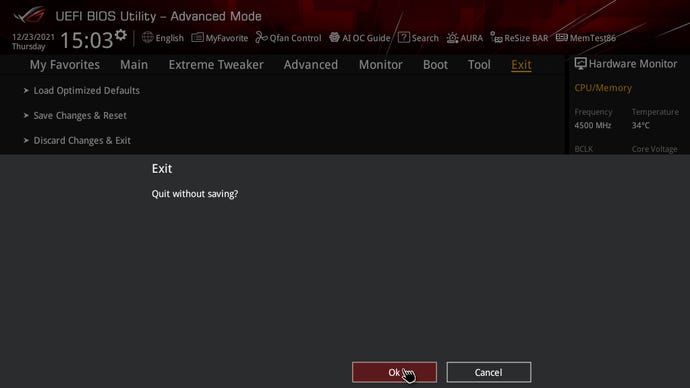
One last restart, and you’ll boot normally back to your desktop, BIOS update complete.
