HomeGuidesStar Wars: Squadrons
Best TIE Reaper loadout in Star Wars: SquadronsThis Support loadout is your allies' best chance of survival
This Support loadout is your allies' best chance of survival

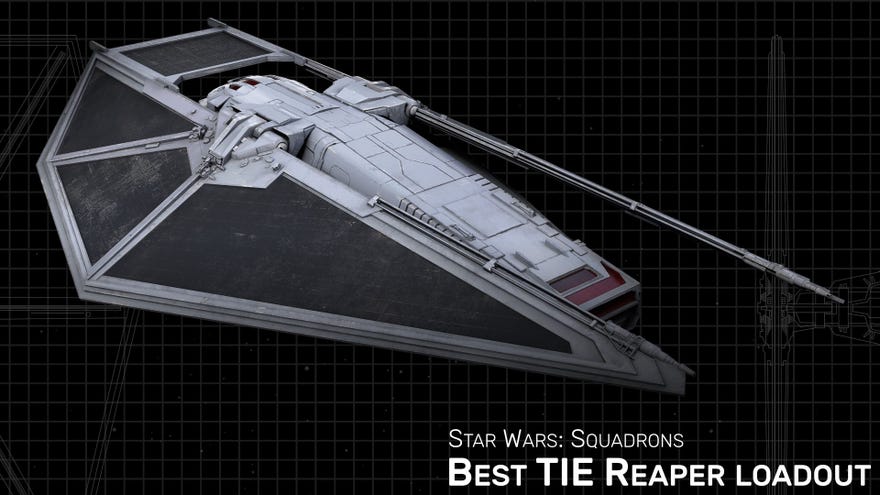
Playing a support-class ship inStar Wars: Squadronsmight be an uninviting prospect, when the alternative is to pilot a TIE Interceptor or an X-wing. But the TIE Reaper, when kitted out and piloted properly, is likely to be the MVP of any match when all’s said and done. Ourbest TIE Reaper loadoutequips you with everything you need to keep your team alive and wreak havoc on the enemy fleet.
In this TIE Reaper loadout guide:
Watch on YouTube
Watch on YouTube

Best TIE Reaper loadout in Star Wars: Squadrons
While this is most certainly the best Reaper loadout I’ve used so far in Squadrons, it’s not for players whose aim is always to get lots of kills. You won’t be destroying many ships at all with this build - but you’ll certainly save a great many lives.
Here is the best TIE Reaper loadout:
I’ve played lots of games now where I use regular or guided blasters on my TIE Reaper, but the damage output is so lacklustre, it’s really best to forget about the prospect of earning kills and focus on what the Reaper can do really well: disabling enemies and strengthening allies. So we’ve gone for theIon Cannonas our primary, because they’re as strong on a Reaper as they are on any other ship, and they can disable an enemy in just a few hits.
Hand-in-hand with the Ion Cannon is theSienar Resonant Shield, which trades a bit of shield HP for the ability to start overcharging your main weapon passively, as long as your shields are overcharged. This means you can stay well protected while also hitting enemy shields harder than nearly any other weapon in Squadrons.
Countermeasures are obvious: as I’ve explained in every one of my loadout guides, theSeeker Warheadsare simply the best, most versatile, and most reliable countermeasures available right now, and there’s very little reason to use anything else.
And now we come to the real strength of this Reaper loadout: to keep your allies alive no matter what happens to them with the double-whammy of theTactical Supply Droidand theTactical Shieldto place over allies while they’re healing up. It’s a pretty frightening sight, seeing a coordinated squad heading towards you with full Tactical Shields.
Check out this exact loadout in greater detail on theSquadrons Toolkit Loadout Builder.

How to use our TIE Reaper loadout
As mentioned, the aim with this Reaper loadout isn’t to get lots of kills. That’s just not possible with the Ion Cannons (nor is it likely even with regular blasters on a Support ship). Your priority should always be your allies. Your two auxiliary powers are pretty spammable, so don’t be afraid to use them whenever they’re off cooldown.
Use the Targeting Wheel to target only allies, then cycle between them whenever you’re not actively doing something, so you can find where you’re needed most. If you see an ally in trouble, heal and shield them before turning your Ion Cannons onto their attacker.
As for power management, your first priority should always be keeping your shields overcharged. You don’t have to worry too much about weapon charge, because as long as shields are good to go, weapons will also be good thanks to your Resonant Shield. After shields are full, switch to mostly engines, with a single notch on weapons to prevent the blaster charge from decreasing over time. That way, you’ll be able to stay protected and powerful, while also always having a supply of Boost for getting out of bad spots.
And that just about wraps up our TIE Reaper loadout guide. Hopefully you’ve learned a thing or two about how to trade in the satisfaction of a high kill game for the equal satisfaction of being the clear MVP of any Squadrons match. If you’re after more top-tier loadouts for different ship types, look no further than ourBest Star Wars: Squadrons loadoutspage.